


Water in the Western United States is a fast-diminishing resource. Just ask Cynthia Bee, Outreach Coordinator at the Jordan Valley Water Conservancy District in Salt Lake City. Last summer, I got so excited when she shared the district’s new creative solutions for reducing water use through garden design. These tips can also save you other resources, like fertilizer, gasoline, electricity, and that most limited resource of all—time.
Faced with future severe water shortages, the district conducted a homeowners’ focus group. Cynthia tells me, “We realized most people thought they were already conserving.” When offered the usual xeriscape ideas, the group thought they were ugly and dubbed them zeroscaping. Cynthia says, “It felt like we were handing them a problem, not a solution.”
So, Cynthia asked the focus group what they thought their problems were. The responses included “Too much maintenance,” and “Insufficient curb appeal.” Folks wanted time to enjoy their gardens, not to be constantly working on them. Doesn’t everybody?
Then, Cynthia and her team turned their water-wise thinking upside down. As she says in a TEDx talk, “We don’t have to change people to create a more sustainable future.” What the team changed was their approach. They focused on time-saving design—a series of steps that results in less garden worktime. And that, Cynthia says, “improves water efficiency without destroying the visual character of the neighborhoods.”
Why not try it? You can modify your own garden piece by piece with these steps.
Step 1 – Start with a central organizing shape. In the front or back yard, that could be a flat center lawn, with no corners for easy mowing and no sprinkler overspray. Or the organizing shape could be made of gravel or pavers. Lose any grass on slopes—hard to mow, anyway.
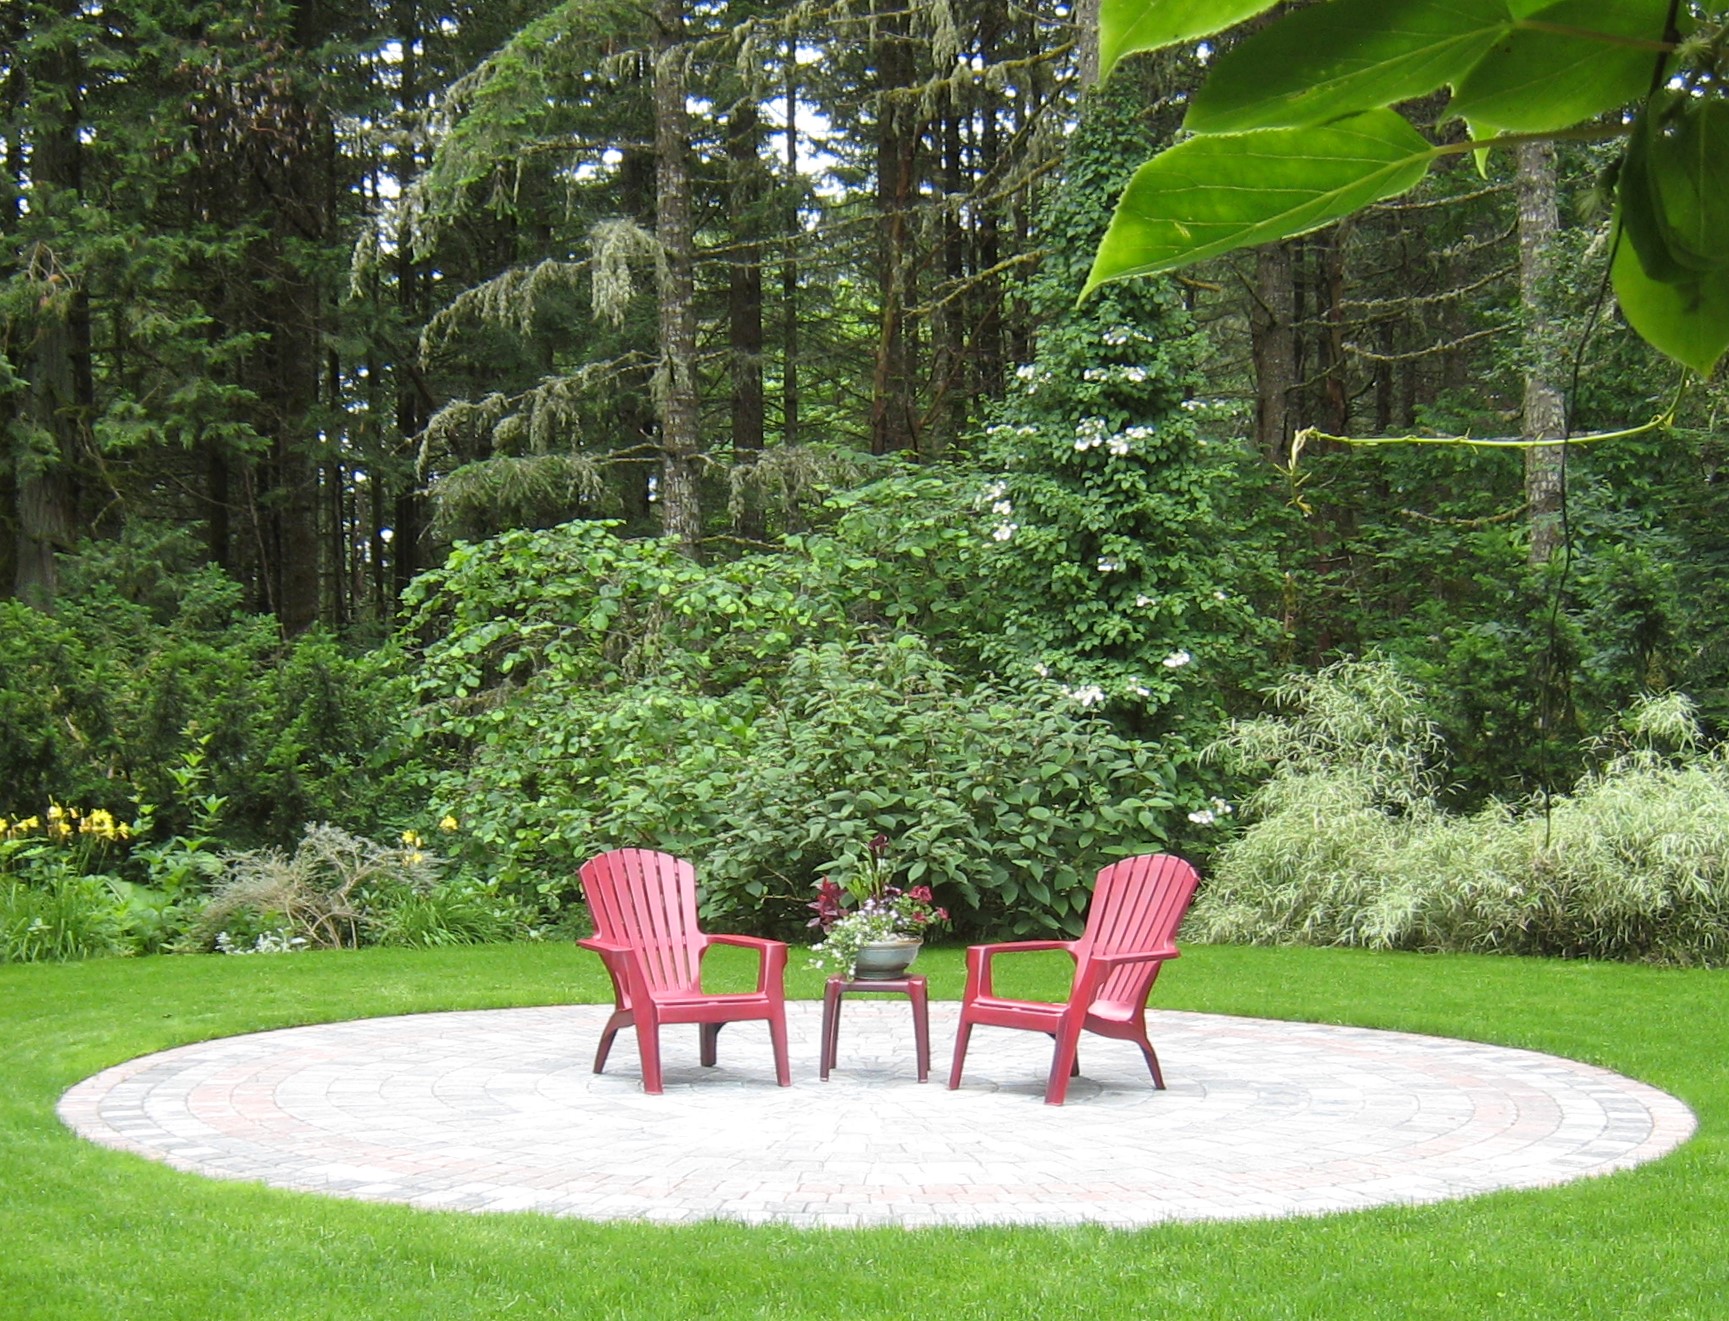
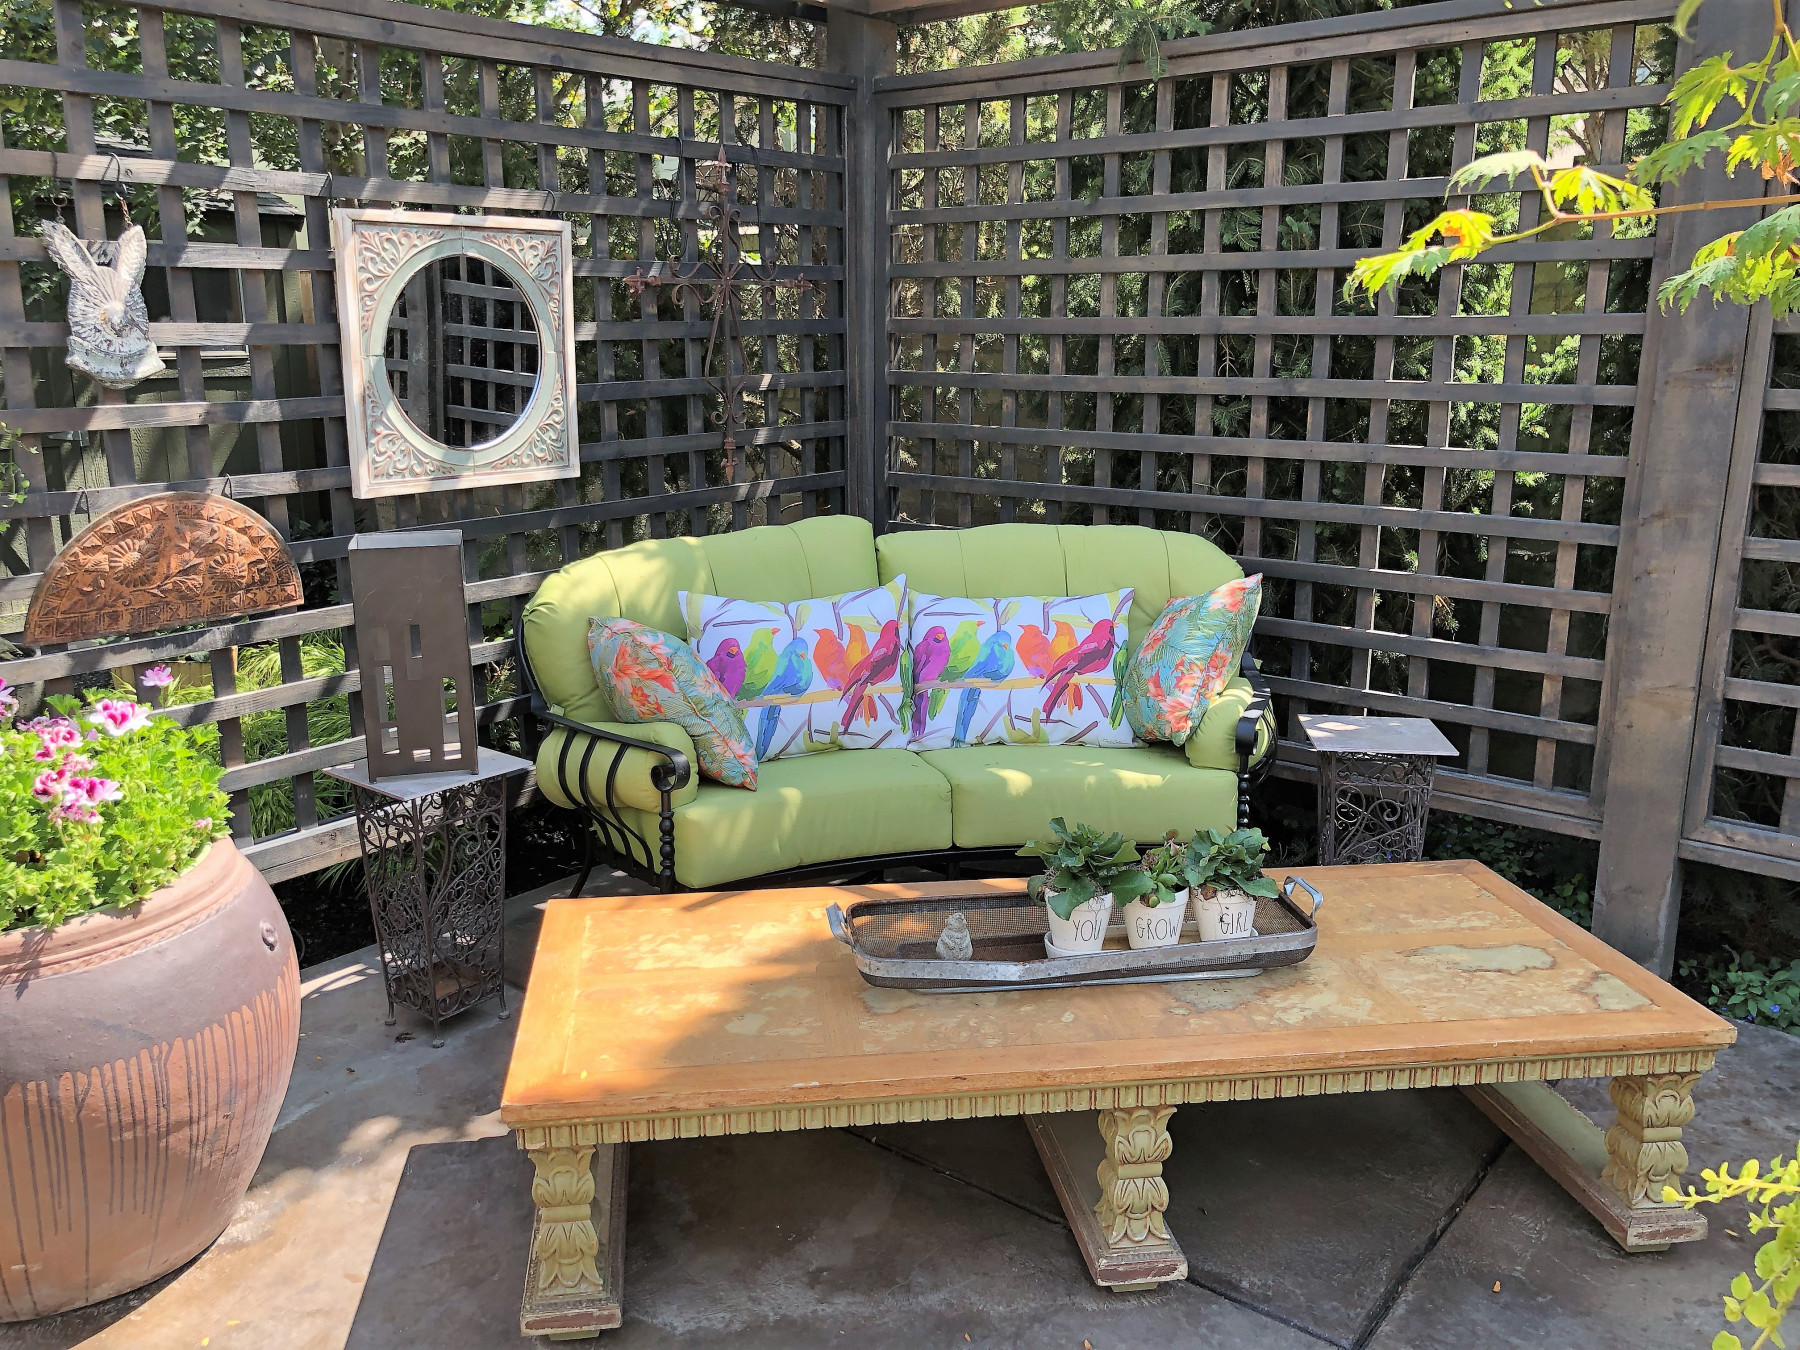
Step 2 – Create gathering areas. Cynthia suggests at least three, each with a different function—in sun, shade, your choice. You’ll need hardscape underfoot for stability.
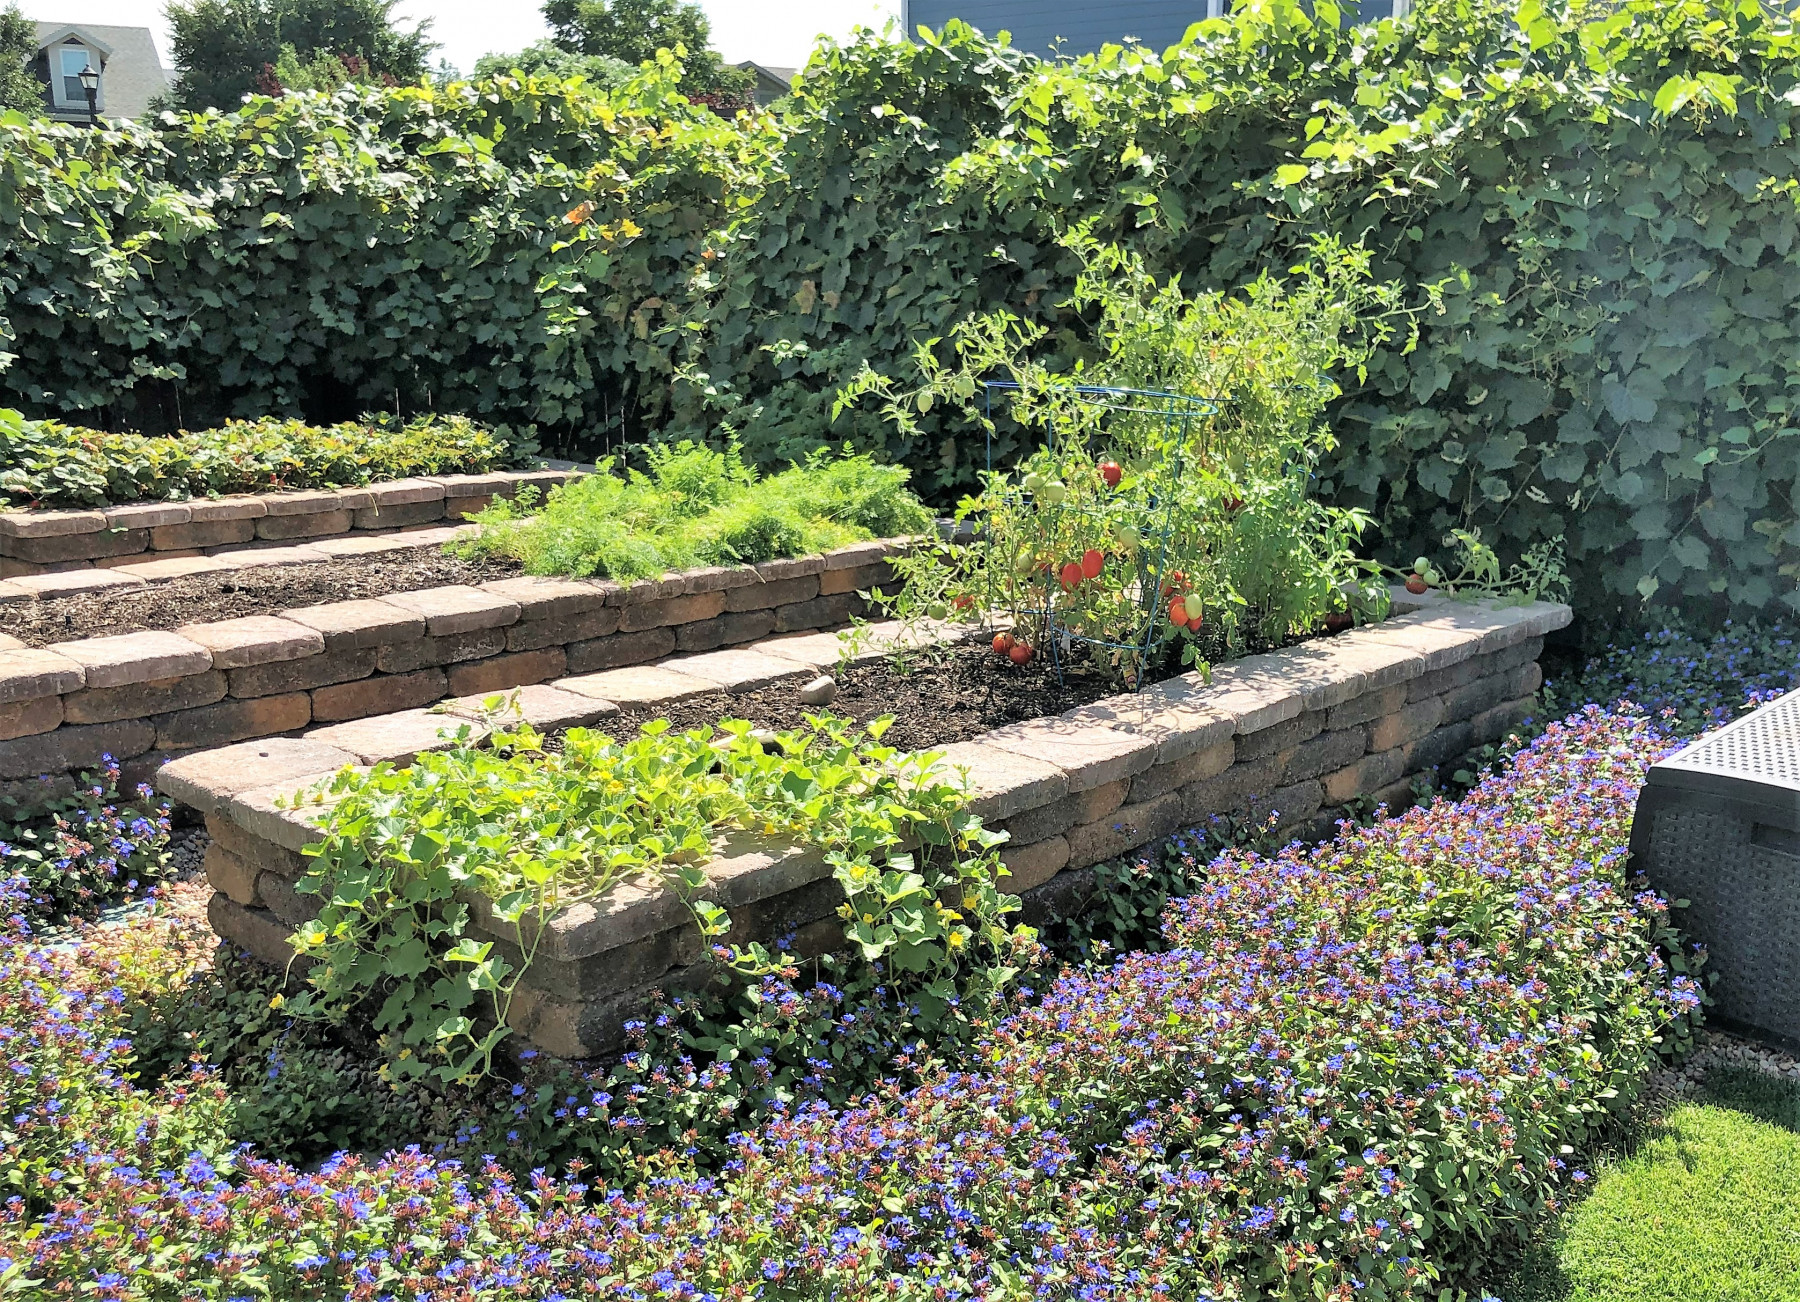
Step 3 – Designate activity zones. Think about a children’s play area, or raised beds for growing food, or that special spot for a greenhouse. Activity areas encourage people to get outside.
Step 4 – Make pathways. They can be permeable or impermeable (but not grass), wide for welcome, narrow for utility. Connect them to a destination, or circle them around, so no dead ends.

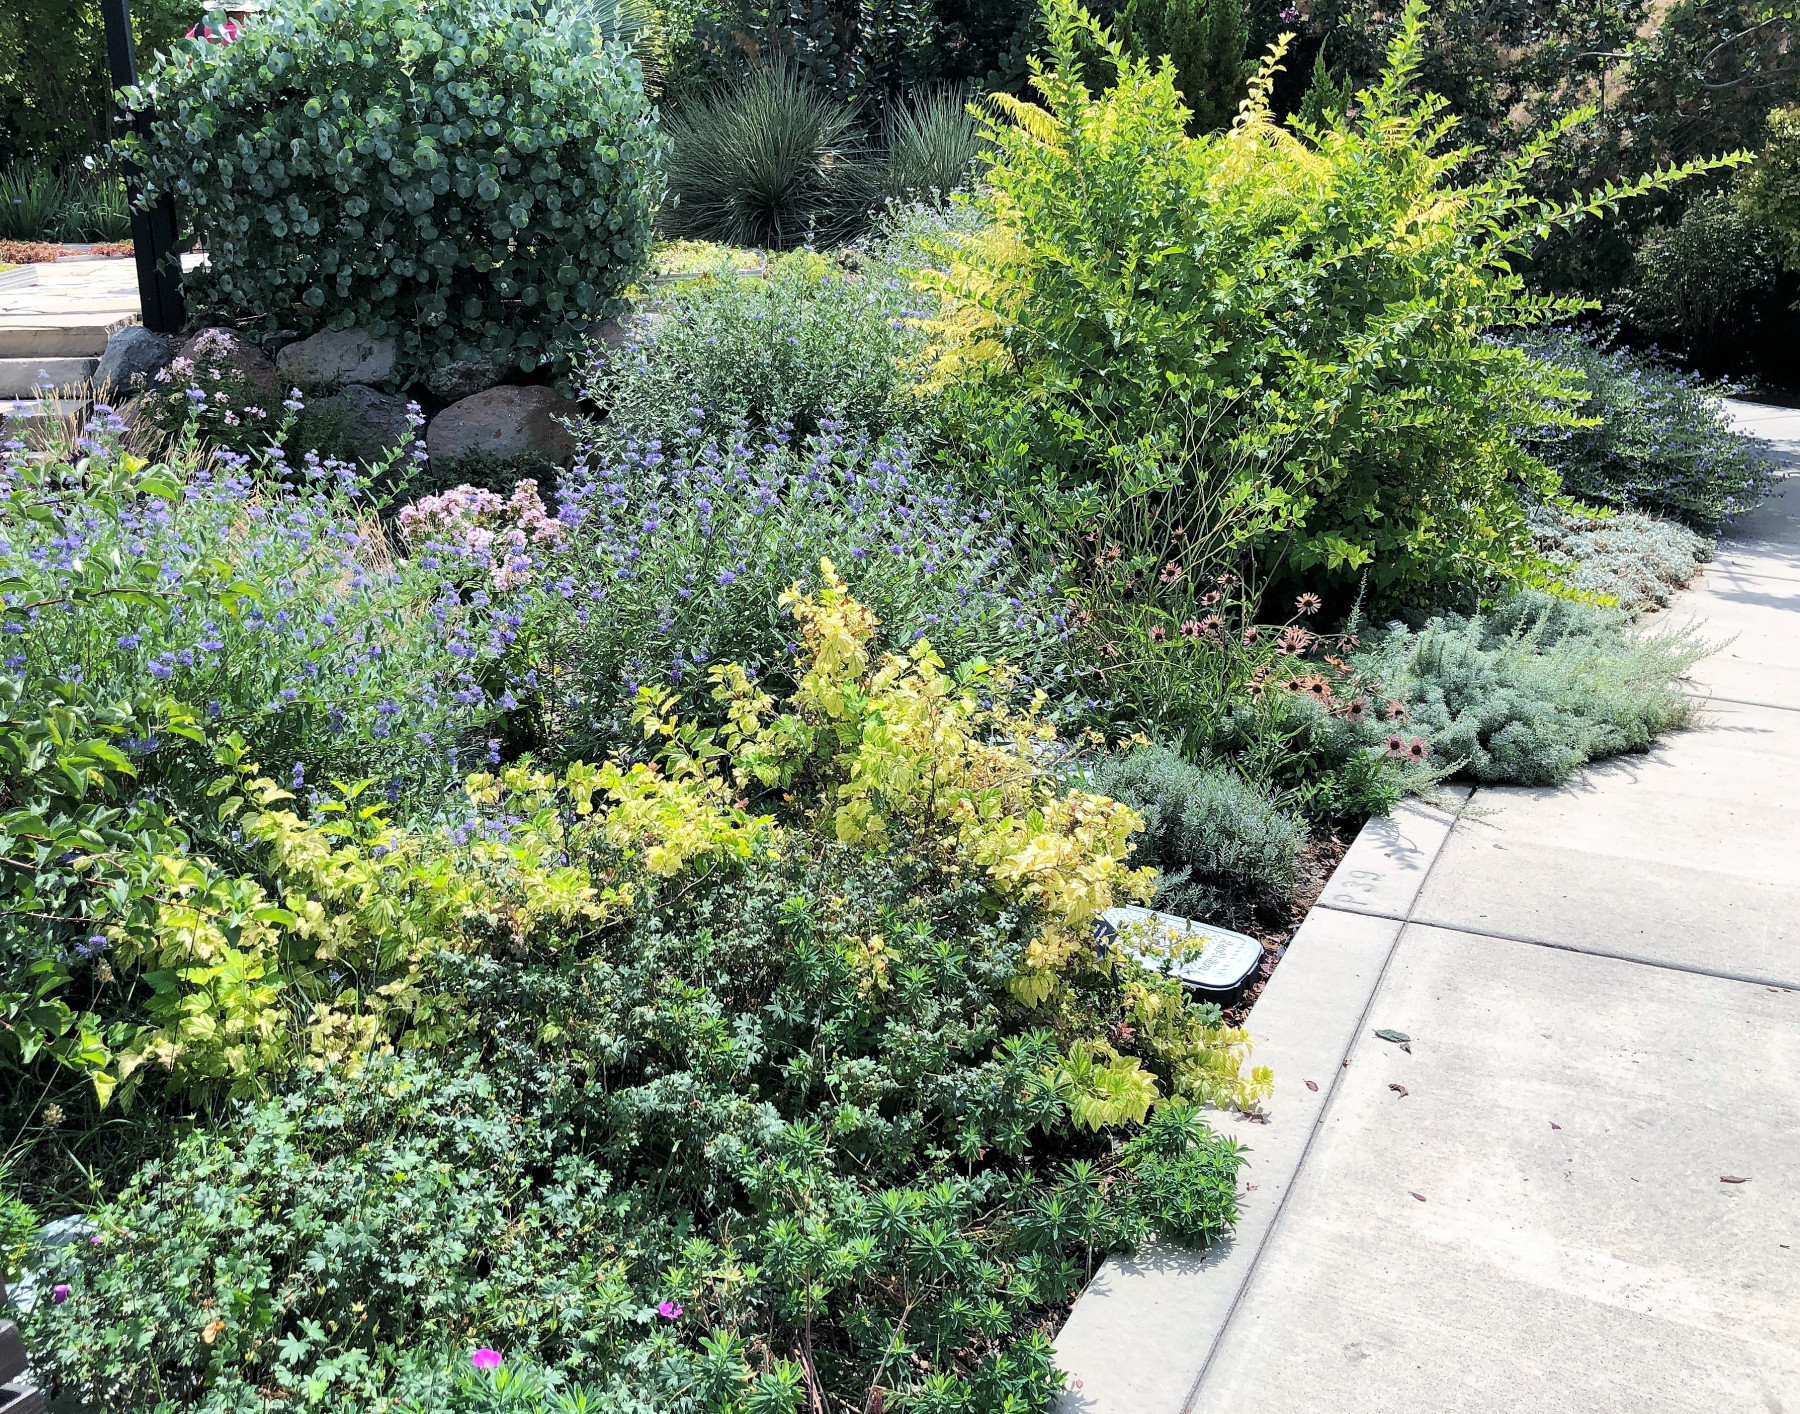
Step 5 – Fill in with planting beds. Any space left over will be your beds and borders. Add natives or plants suited to your climate. Don’t discount your region’s signature plants—those common ones growing everywhere. It’s how you use them that counts. They’re often easier to maintain and require less food and water.
So, now you have more time to enjoy your garden. As one happy participant in Cynthia’s design program said, “I went from working 47 minutes a week to 7 minutes.” The (intended) side effect of saving time? The average home also saved over 100,000 gallons of water a year. What could you save?