


Site and soil
Onions need a well-drained, fertile soil in full sun to grow well. Some shelter from the wind helps prevent the tops from being bent over prematurely and this can bring growth to a halt.
On exposed sites they may benefit from a short stake to provide a little support.
If you are following a traditional crop rotation, it’s usual to plant onions in soil which was previously used to grow potatoes and related plants but many gardeners use the same patch year after year.
This is fine, but sooner or later diseases such as white rot (see below) will strike and it is always best to move crops around if you can. In the autumn prior to planting, dig in plenty of well-rotted organic matter and follow this with 56g (2oz) per sq yd of general fertiliser such as pelleted chicken manure or Growmore raked in seven to 10 days prior to planting.
Propagation
Onions can be grown from sets (immature bulbs) which, weather permitting, are planted in March or October.
However growing from seeds can give you a wider choice of varieties to choose from.
It is also the way that many exhibitors produce show specimens as a long growing season is needed to grow the biggest and best bulbs.
Although seeds can be sown direct into the ground, we recommend sowing into seed or cell (module) trays filled with sowing or multi-purpose compost.
Sowing in cells reduces the chance of root disturbance later.
Soak the compost before sowing one seed 6mm (1?4in) deep into each cell and cover with sieved compost or a layer of fine vermiculite or perlite.
Label and cover with a propagator lid and place in a propagator in gentle heat (15C/60F).
Growing on
Onion seedlings are very distinctive when they emerge; the single leaf reverses out of the soil to protect the growing tip and is bent double at first, resembling a shepherd’s crook.
It is at the crook stage when most of the seedlings are through the compost that the cover can be removed and the seedlings moved to the bench and grown on at 7-10C (45-50F).
If you have sown your seeds in a tray, prick them out when large enough to handle into cell trays or small pots just burying the tiny bulb and grow on until they are well established.
Keen exhibitors will sometimes continue to grow the plants on in pots, potting up as necessary, or transferring to barrels and this also offers a good way to grow onions if your soil is infected with white rot.
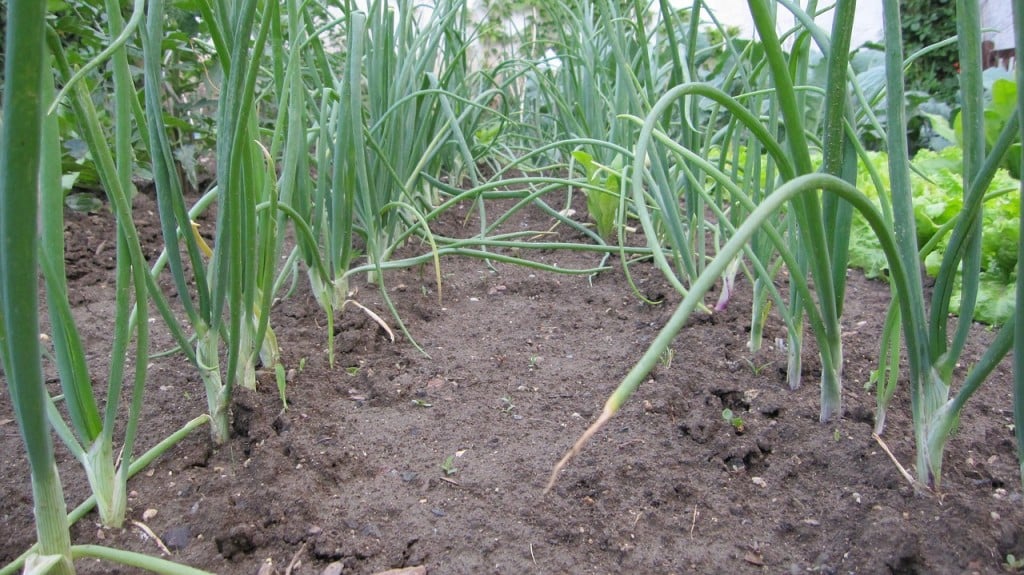
Your onions should be planted out in rows in March or April allowing 10-15cm (4-6in) between plants and 37-45cm (15- 18in) between the rows. Ensure that the level of the compost at the top of the rootball is level with or just below soil level, firm gently and water in.
Plants may require watering during dry spells to help swell the bulbs; this can prevent growth checks which lead to bolting (running to seed prematurely), but watering should stop once the leaves begin to turn yellow or to bend over naturally – usually some time during August (supports can be removed at this point).
Through the life of the crop, keep the onion bed weed free by hoeing or hand weeding, but take care not to damage the bulbs or to disturb the roots.
Harvesting
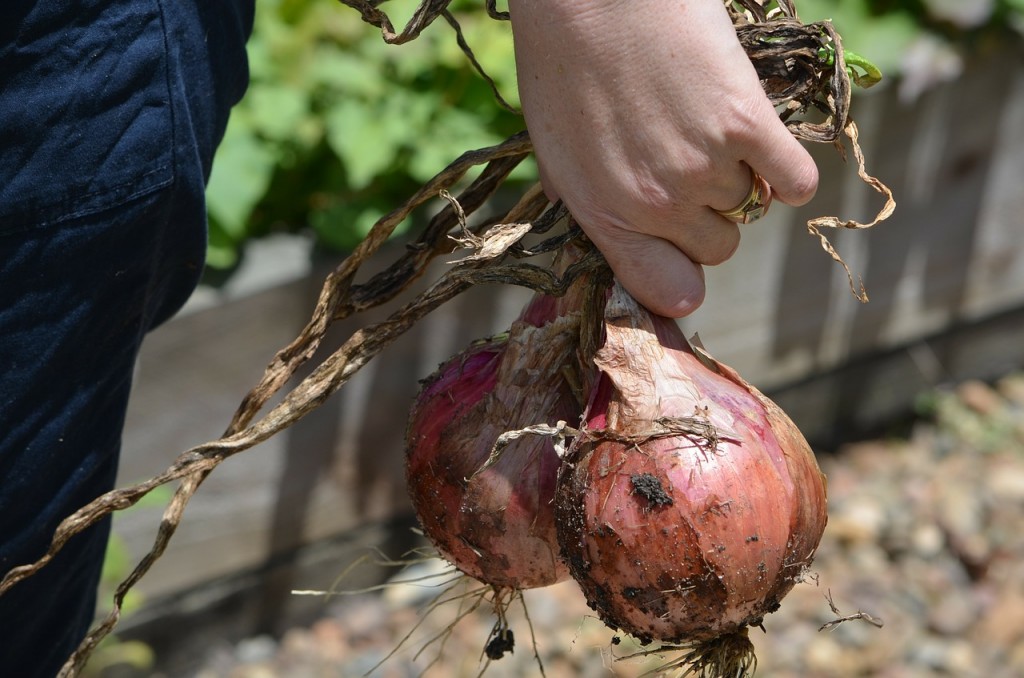
Once the leaves have bent over naturally and when the necks (the region just above the top of the bulb) has shrivelled and is obviously drying well, a fork is used to lift the bulbs to snap the roots.
This in turn speeds the drying process and if the weather is warm and dry the bulbs can simply be left on the soil surface to ripen for up to a week prior to gathering up and placing on a simple drying rack made from four short posts and a piece of strong chicken wire.
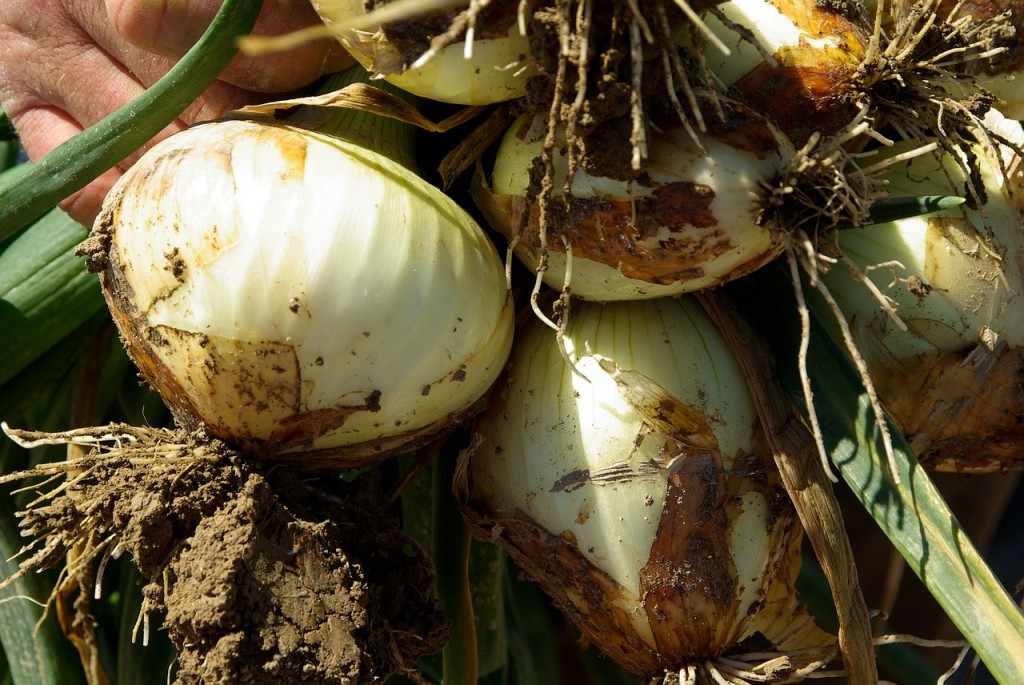
If the weather is wet the bulbs should be lifted and allowed to complete the ripening process under cover.
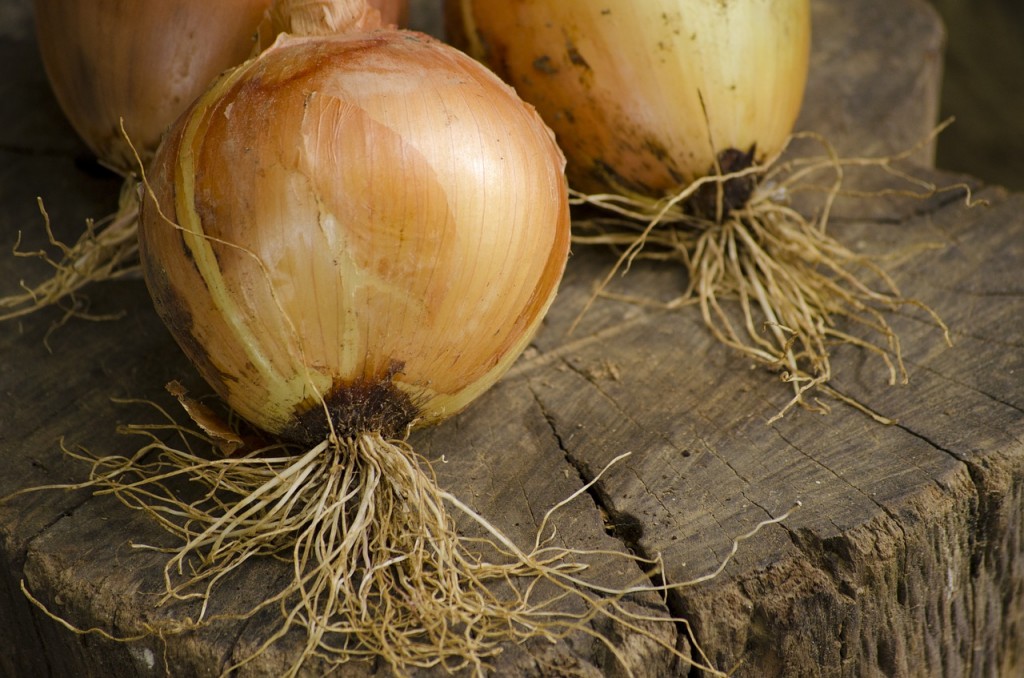
Once the necks of the bulbs have dried completely the onions are cleaned of any loose soil, the roots trimmed and the bulbs platted into neat strings. Alternatively the foliage can be removed and the bulbs stored in nets or hessian sacks.
Pest and Diseases Varieties
White rot:
Moves slowly through the soil so often attacks small areas.
The infected plants become yellow and stunted and when lifted often come away from the soil easily and may have a fluffy white mould on the base, sometimes with little black seed-like lumps mixed in.
These are the overwintering bodies of the disease and can rest in the soil for many years until a suitable host is planted or related weeds germinate.
Many gardeners grow the crop for years without ever seeing white rot, but once it does infect the soil it is there for seven years or more causing heavy losses.
Only buy in plants from reputable sources and never accept spares from a fellow plotholder unless you are sure that their soil is free of the disease.
In badly infected soil consider growing in pots.
Downy mildew:
First seen as a blackening of the leaf tips which spreads down the foliage and in wet weather produces dirty grey fluff – the spore-producing part of the fungus.
The disease often infects the neck of the bulbs making them useless for storing. Overwintering onions, such as the Japanese types often carry the disease over to infect spring-sown crops. The disease is usually much worse in wet seasons and do not plant onions too closely.
New onion ‘Santero F1’ (Medwyn’s Seeds) is said to have good resistance.
Onion fly:
Flies emerge from the soil in spring and lay their eggs on the developing plants.
The maggots move down to the bulb and eat the roots causing plants to wilt and die. Later in the season the bulbs may also be tunnelled. Cover the crop with fleece, EcoGreen Micromesh or Environmesh to prevent adult flies from finding the crop; however this is only effective where the soil is free of the overwintering pests.
Storage rots:
Are very common where bulbs have not been dried thoroughly prior to storing or where diseases such as downy mildew or neck rot have infected the top of the bulb. The base of the bulb is also often affected. Dry bulbs thoroughly prior to storing and check those in store regularly.
Onion thrips:
Tiny flattened insects suck the sap and cause the leaves to become flecked with silver marks. In warm summers numbers can build up causing serious damage and poor yields.
Spray with a suitable insecticide such as Py Garden Insect Killer.
Onion Varieties
- ‘Mammoth Onion Improved’: Bulbs can be grown to over 2kg and have a sweet flavour.
- ‘Red Baron’: A popular red variety which stores well and has a good flavour. Nice internal colour. (Many suppliers, seeds or sets)Autumn types
- ‘Senshyu Yellow’: A popular Japanese type for sowing in August and harvesting in June the following year.
- ‘Hi-Keeper F1’: Good-sized bulbs and very winter hardy. May also be sown in spring.
Sow a small pinch of up to six seeds in each cell of a cell tray and grow on as one plug plant. This group of little plants can be planted at close spacings, making good use of limited space and will go on to produce lots of smaller onions from the same area.