Herb wheel
A traditional way of growing herbs was to place a cartwheel on the ground and plant up between the spokes.
There are not so many cart wheels about now but you can use the principle and make your own round bed with terracotta edging and spokes of the wheel and then a centre focal point of an ornament or maybe a pot.
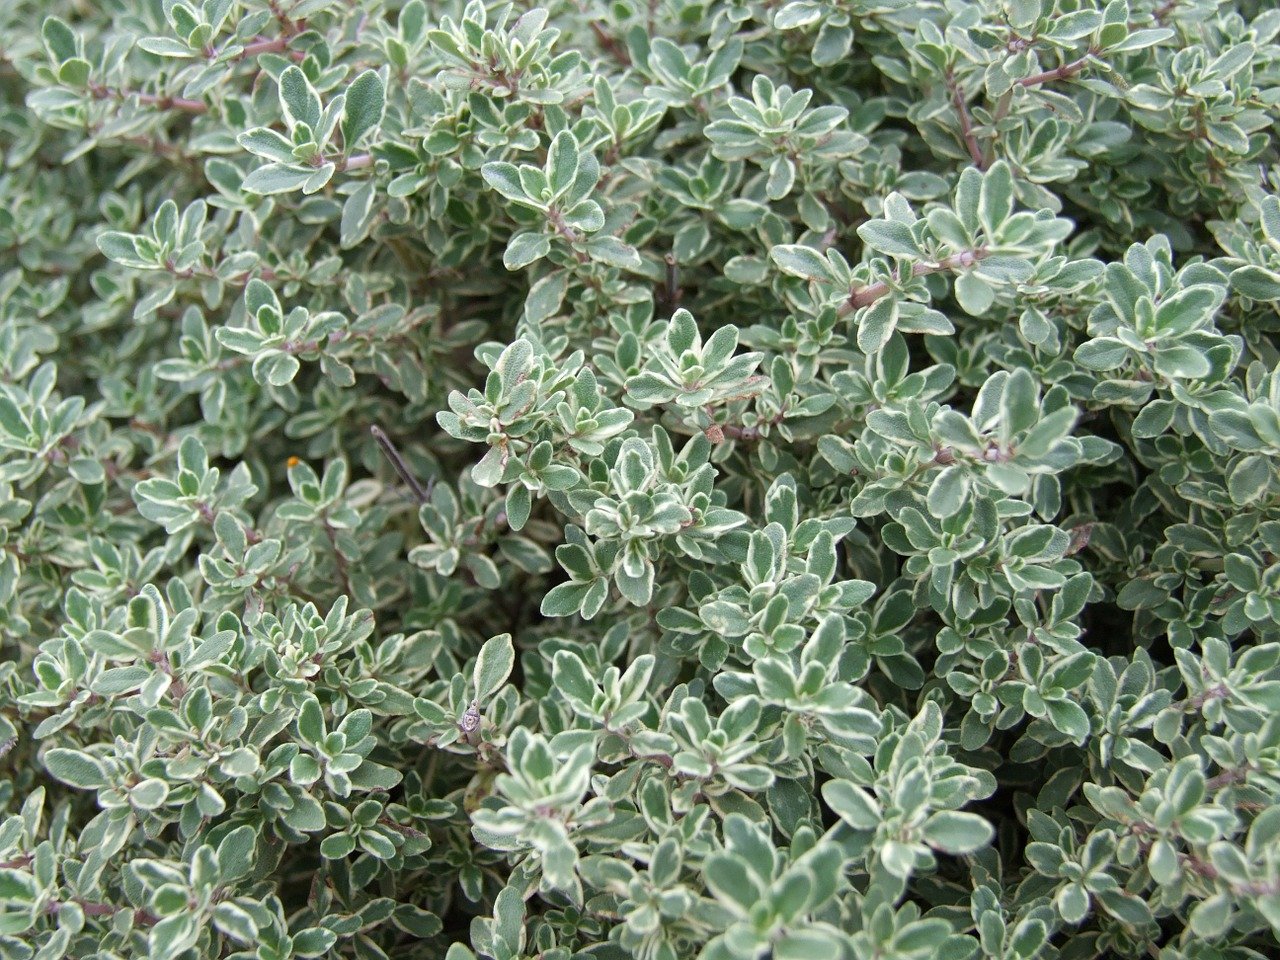
This is planted up with low clump-forming herbs such as thymes, marjoram, chives, sage and oregano Formal herb bed.
This square bed has been cut into the soil and edged with woven willow panels. It has then been planted with a central white standard rose – this is surrounded with purple-leaved and tricoloured sage plus ornamental red salvia.
Chives have been planted along two edges. A pea shingle pathway around the herb bed makes it stand out giving a clean cut formal look.
Gravel bed herb garden
This type of bed is ideal for herbs because many like a free draining soil and as quite a few of our popular herbs are of Mediterranean origin, a hot, sunny gravel bed will make them feel at home.
The bed needs to be dug over well and perennial weeds removed.
Dig in plenty of sand or grit into the soil. Create a gentle slope and use large stones to hold the slope back and angle them to encourage rainwater to run back to the plants.
Plant up the bed with the largest herbs to the back. Ideal plants include cotton lavender, lavender, rosemary, curry plant, sage and thyme. Add more gravel and stones around the plants to finish.
Top Tips
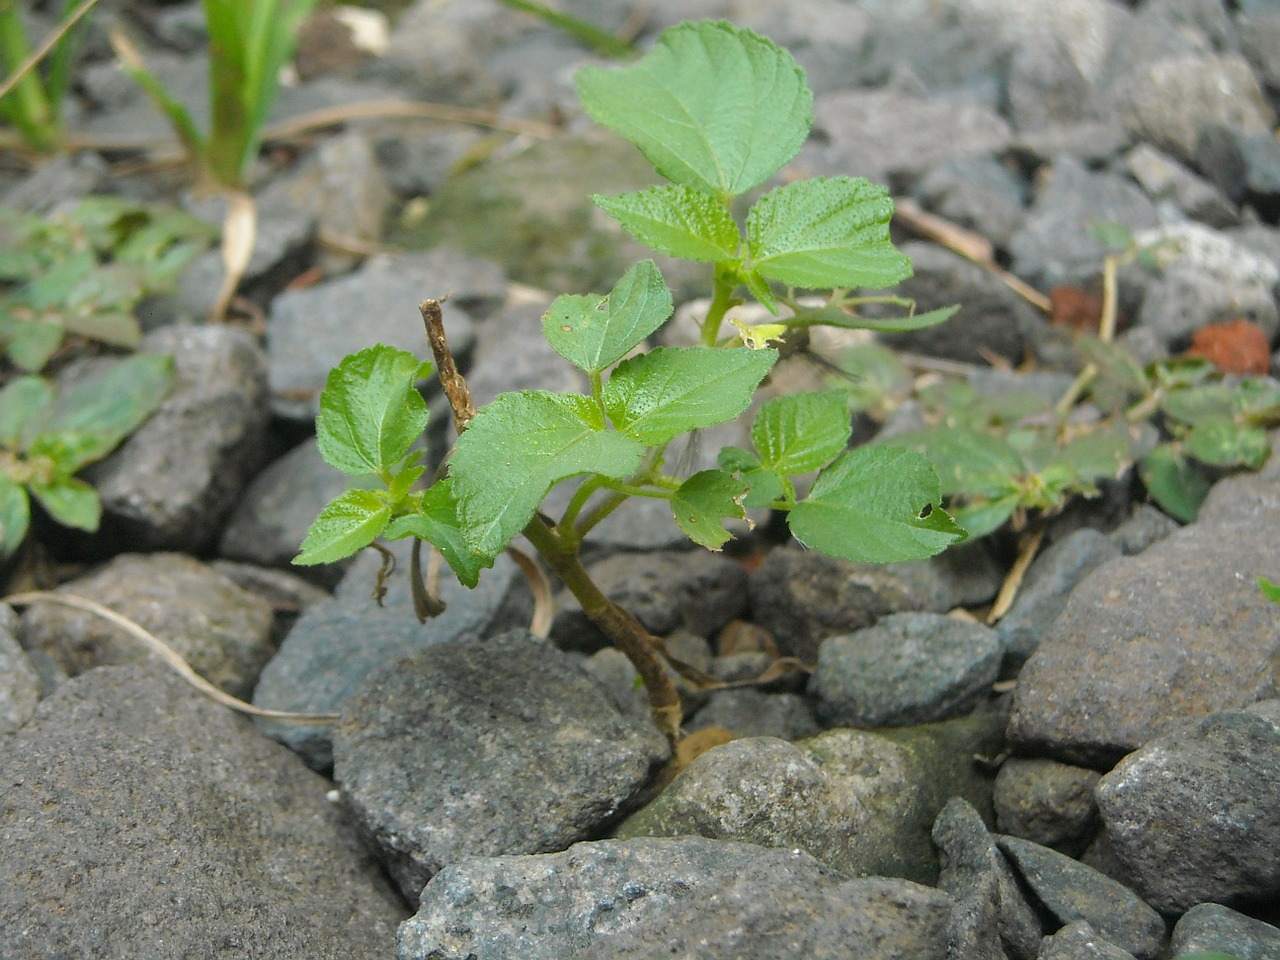
If you want to grow herbs in cracks in pavements try thymes, chamomile and creeping savory (Satureja spicigera) Certain mints can be invasive so if growing them in a border plant them in a pot first and sink the pot into the ground. Lift each year to trim any roots that have escaped through the drainage holes.
Don‘t harvest too much growth in the first year from perennial herbs, allow them to grow freely and start to harvest in the second year. A few tiny growing tips can be taken off the more vigorous ones.
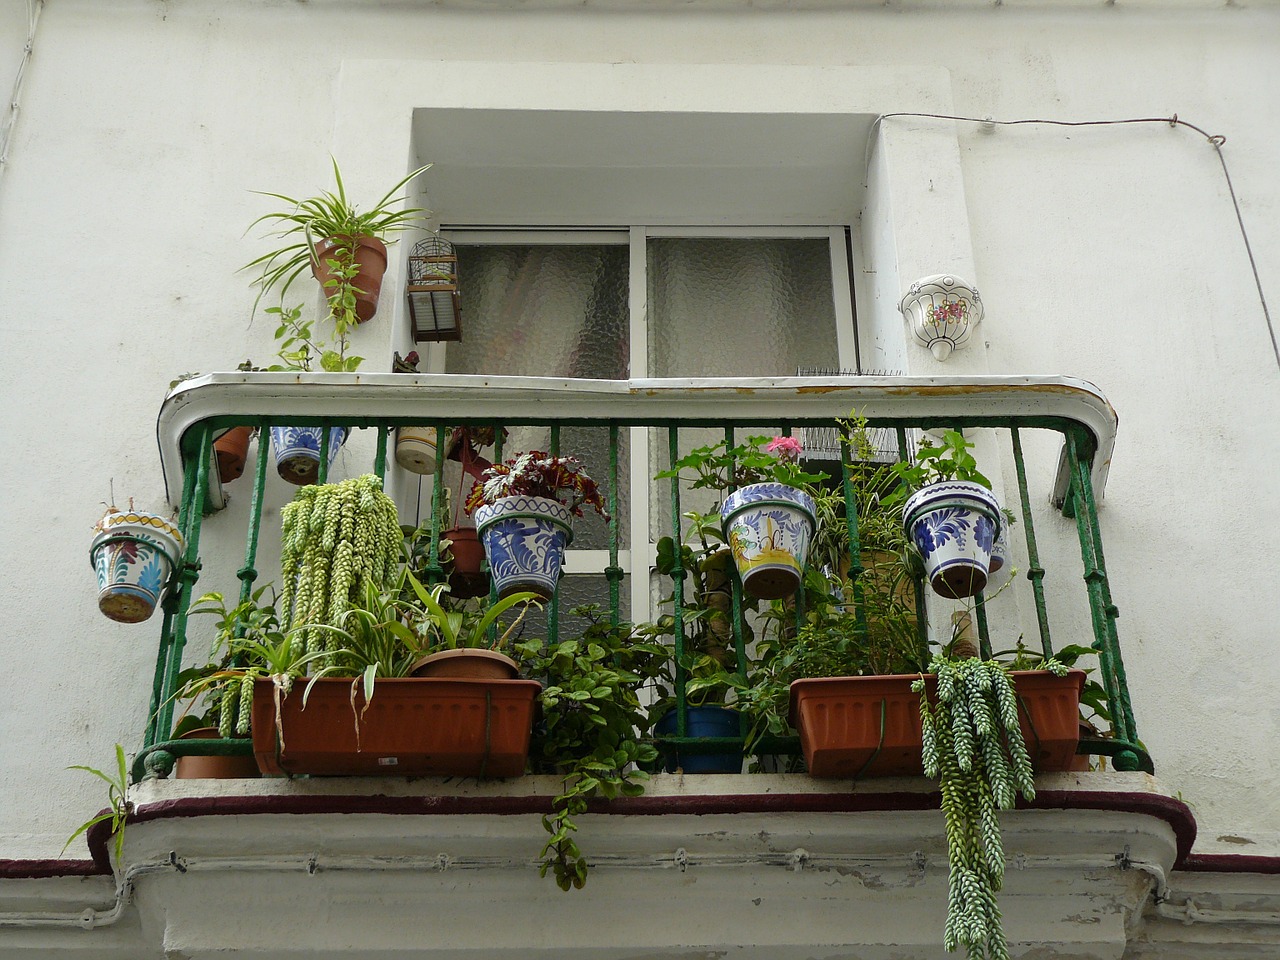
Herbs in containers
Most herbs will do well grown in a pot and keeping them this way means they can be shifted around the garden and placed where they are convenient for harvesting
Containers to use
Any container you want to use for herbs must have drainage holes in the bottom.
It is also a good idea to put some old broken pieces of terracotta pot or stones in the bottom to keep the hole open and free draining. Use a John Innes no 3 compost for perennial herbs which will be in the pot for a couple of years.
The size of container depends on what you are growing.
A rosemary or bay can become quite a large shrub and so it is best to grow these on their own in a large pot or tub, at least 30cm (12in) diameter to start with.
Planting up a hanging basket
This hanging basket has been planted up with herbs and some alpine strawberries and cherry tomatoes.
The herbs include thyme which has been planted through the holes in the sides of the basket, pineapple mint, chives, parsley and there is even a climbing bean.
Other herbs you could use include basil, sage, mint and savory.
A basket like this should be seen as a one-season wonder.
Hang it near y our back door or by your barbecue and enjoy for the summer season.
By autumn it will need dismantling and the perennial herbs cut back and potted up or planted out.
Compact herbs
The following herbs are ideal grown together in a very large tub or a growing-bag or strawberry pot:
- Chives
- Garlic chives
- Winter savory
- Parsley
- Thyme
- Basil
- Variegated sage
- Marjoram
Herbs for very large tubs
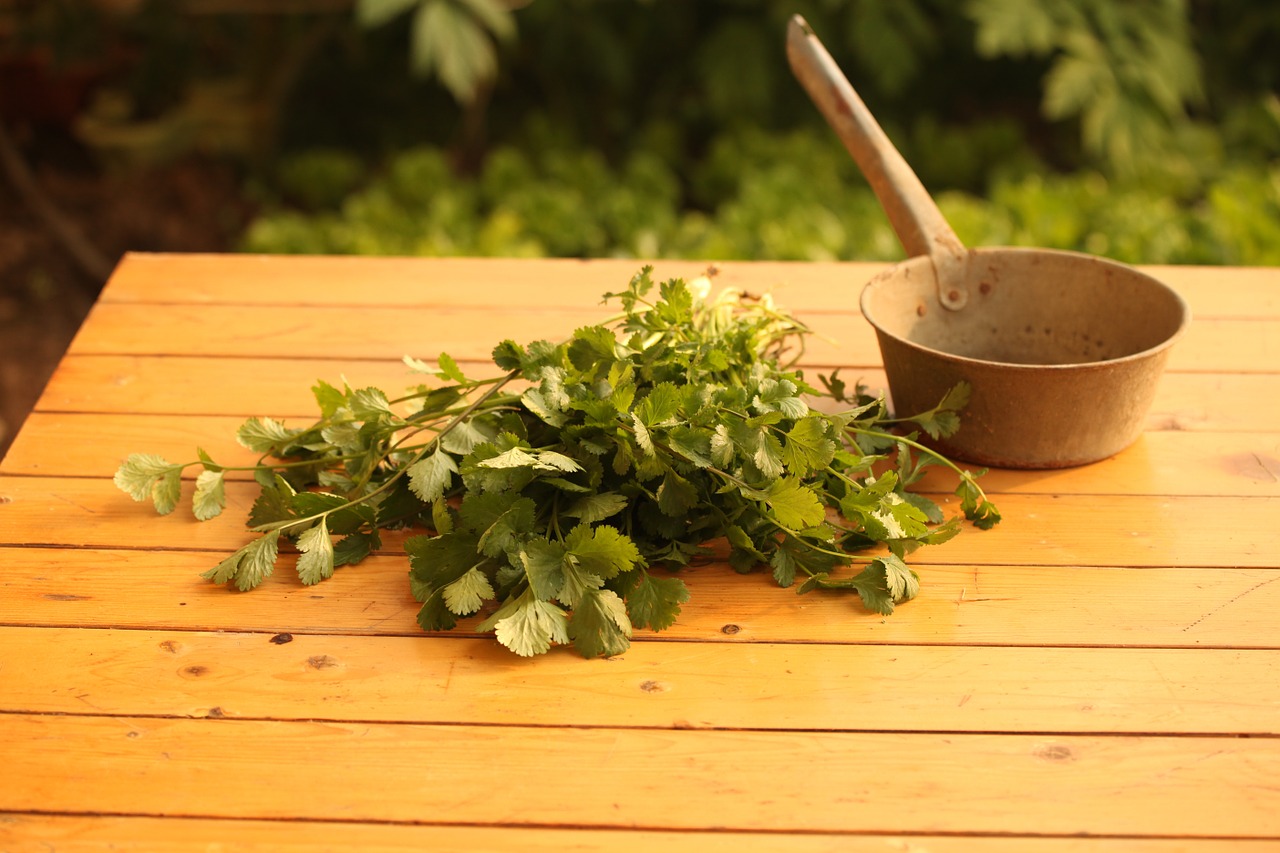
Coriander, dill, mint and tarragon are tall growing and are best grown in open ground although you could get away with planting in a large and deep container.
Group pots
Although you can grow herbs together in a large potthey will do better in their own pots and will look particularly good grown in plain terracotta pots. These can then be grouped together with the larger ones at the back. This is a most effective way of displaying herbs. Add some fancy wooden labels and it will create a stylish focal point. Remember to place the pots in a sunny spot.
Pot tips
After planting in a pot cover the compost with some pea gravel to help keep in moisture and give an attractive appearance.
Many herbs are sold in small 9cm (31?2in) pots in garden centres. You can get away with planting these in a decent sized pot or growing-bag for the first year and placing near the house to pluck a few leaves from.
Even rosemary will be fine for a few months in a confined space but at the end of the season, the perennial herb should ideally be potted up individually or planted in the ground. If you can find a wooden box, plant up with herbs to make a useful and decorative feature.
Plant a herb growing-bag
Herbs need to be close to the kitchen so you can pluck a few leaves when you want them. You can grow them in several pots or why not buy a cheap growing-bag and plant up several in this and place by your back door?
Growing-bags are rather unsightly but this is easily solved by wrapping the bag in some hessian or some hanging basket liner which can be bought off the roll at your local garden centre.
In our growing bag we planted oregano, sage, mint, rocket (annual), tarragon, coriander (annual), thyme, chives, Rosmarinus officinalis ‘Blue Rain‘ (a prostrate form growing to 15cm (6in) high and with a trailing habit).
These will outgrow their space in a few months but this doesn‘t matter. At the end of the season, the bag can be dismantled and the Perennial herbs planted up in individual pots.
Plant a herb bag step-by-step
1- Gather all the materials together and plump up the growing-bag to loosen the compost and make some holes in the base.
2- Wrap the growing bag in the hanging basket liner to hide the coloured plastic. Tuck the excess material under the sides and ends.
3- Place the plants on the growing bag to work out the best planting plan. Aim for the taller growing plants at the back. Cut crosses in the material with a pair of sharp scissors and also cut through to the growing-bag beneath. Tuck the material and plastic flaps back.
4- When removing soil to make a hole for the plants push an empty pot into the hole to make the right shape and then drop the plant into the hole and it should fit snugly. Push the compost around the plant to make sure there are no gaps. Water well and label with some pretty copper labels.