

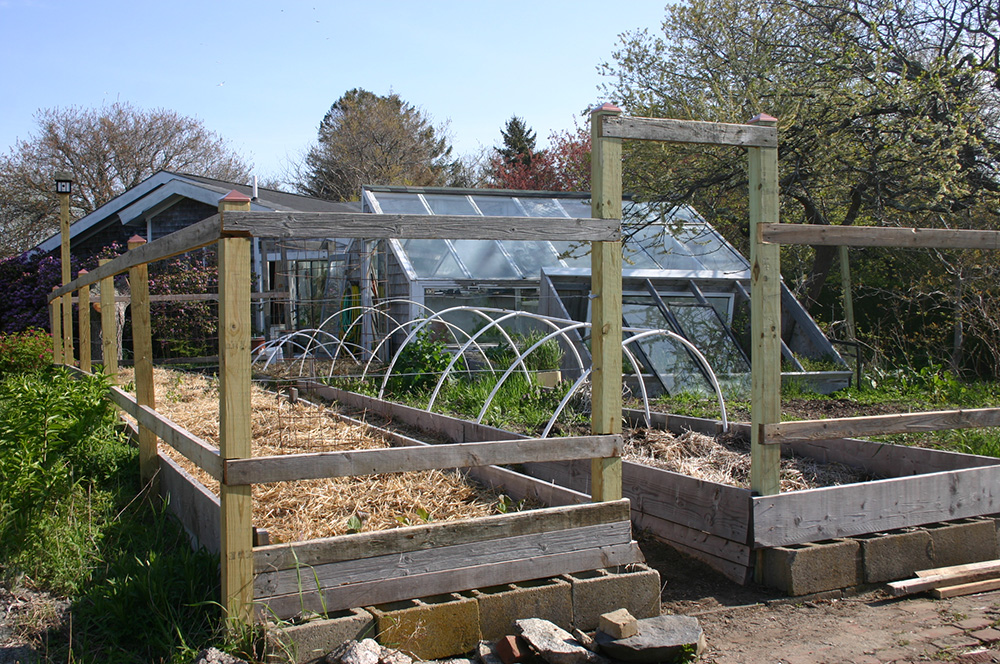
Many people use a greenhouse to start seeds, but where do you put all the potted-up plants when the greenhouse isn’t large enough for them? An outdoor, raised bed can be an ideal location. Plus, with a few additions, the bed can be easily converted to a polytunnel or even a small, temporary greenhouse.
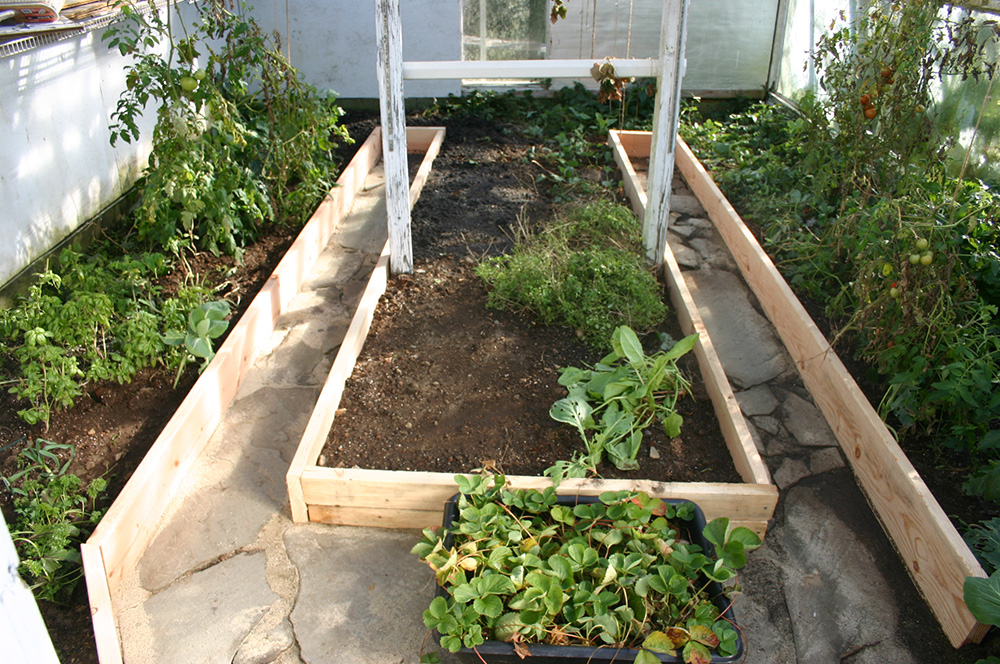
The first step in building a raised bed is to determine its dimensions. It can be any length depending upon your available space. In my garden, the shortest raised bed is 12 feet (3.6M) long and my longest one is 40 feet (about 12M). In deciding on width, be careful not to make your raised bed too wide because you want to be able to reach all parts of it without stepping on and compacting the soil. I suggest up to 4 feet (1.2M) wide if the bed can be accessed from either side, and no more than 3 feet (.9M) wide if accessible from only one side. The height of the bed is a matter of personal preference. My beds are reasonably low and are made from 2in x 12in (approx. 50mm x 300mm) lumber. But if you want to garden without bending over, you might build a raised bed up to 3 feet (0.9M) high. I recommend using 4in x 4in (100mm x 100mm) lumber for heights up to 2 feet (0.6m). If you plan to go higher, use 6in x 6in (150mm x 150mm) lumber.
All the lumber for a raised bed should be non-pressure-treated. You may hear that pressure-treated wood is fine, but as it rots down (and it will rot), the compounds used in pressure-treating will migrate into your bed’s soil and maybe into your plants. If you must use PT lumber, line the inside of your bed with plastic sheet to prevent leaching into the soil. My 2in x 10in non-pressure-treated lumber lasts about ten years before needing replacement, which is plenty long for me.
Building your raised bed isn’t difficult. First, mark out the bed’s length and width, and then dig out the area. Lay the first layer of lumber around the bed’s edge. If using 4×4 or 6×6 lumber, install up to three layers and drill them with a ½-inch bit every 3 to 4 feet, going through all the layers. Next, hammer rebar through these holes and into the ground. At the corners, alternate the wood layers and drill holes through them 2 inches in from each corner. Then hammer more rebar down through these holes to prevent the corners from falling apart. If your raised bed will be higher, add more layers of lumber and drill more holes for rebar reinforcement, connecting the additional layers to the ones below.
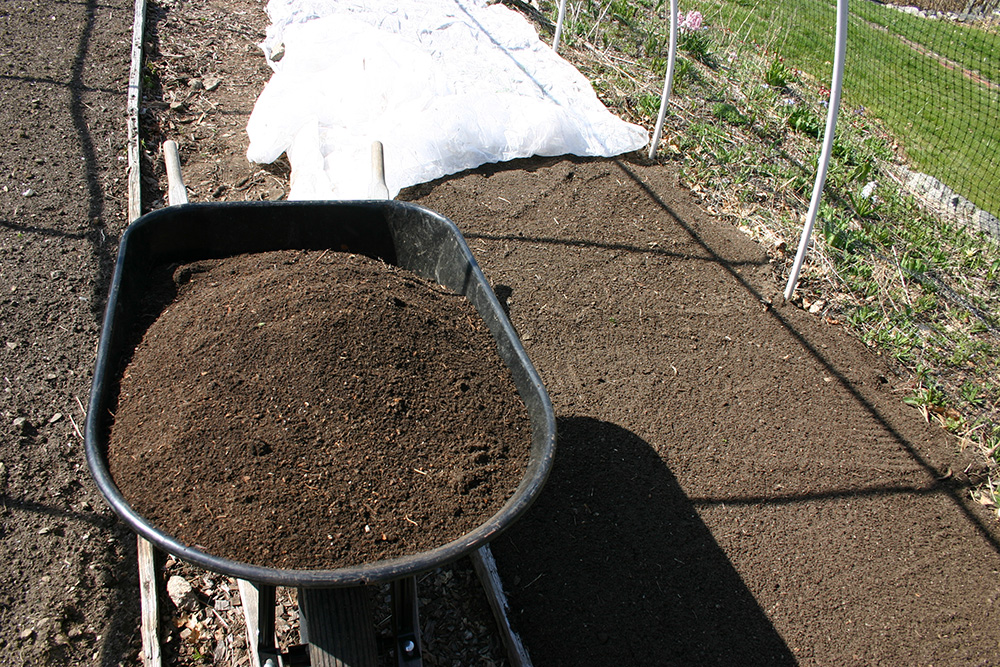
To fill your bed, here’s a composting method to use. First, lay down a layer of wood chips (or other high-carbon, brown matter), which will take the longest to rot. For a 3-foot-high raised bed, I’d make this layer about 6 to 8 inches thick, or roughly 20% of the depth. On top of the chips, put a layer of high-nitrogen, green matter (fresh untreated lawn clippings, green leaves, etc.). The nitrogen in this layer will help the carbon-rich layer beneath it to decompose. (If you’re short on green matter, you can use a little high-nitrogen fertilizer, such as lawn fertilizer, instead.) Then alternate brown and green layers until they’re about 6 inches below the top of the wood frame, ending with a green layer. The very top of the bed should be covered with screened loam, or you can use potting soil if you wish, although buying lots of potting soil can get expensive. You may want to mound up this final layer about 10 to 12 inches above the wood frame to allow it to settle as the organic matter beneath it rots down. Now simply wait for the composting action to begin, which will heat up the soil at the top, making your plants grow faster. If you harvest whole plants from your bed, set new ones in their place to keep the harvest going until frost.
At the end of the bed’s first season, you may have to add more soil or compost to keep the surface level with the wood sides. You can also dig over or rototill the top of the bed to freshen and prepare it for next spring’s planting. Over the winter, though, I suggest you cover the soil (or grow a cover crop) to keep nutrient levels high for your second season.