Build life into the structure of your garden – and create new, renewable habitat for its wildlife – by putting wood to work.
Where would my garden be without the endless wonders of wood? While the solid framework of my terraced, edge-of-woodland patch relies on slate for its symmetry and stability, wood – in all its guises – adds a different, supportive and enriching element to all I do. While I celebrate slate’s tough, timeless solidity, I also relish the transitoriness that wood – be it as shredded chip, stake or thick log – brings.

Slate holds it all together here, but it’s renewable wood that defines the garden’s outer boundary, helps nourish and build soil, guides runner beans heavenwards, and starves weed seeds of life-giving light. It holds sunflowers firm in a drenching summer storm, supplies wasps large and small with ‘mush’ to craft their nests, and provides woodpeckers with snack-filled pecking posts. Wood chips add alchemy to home-mixed peat-free potting mixes, encouraging plants’ roots to hook up with nature’s own living internet of fungal mycelia. Away from the garden, wood keeps us warm in winter (and me the fitter for its sourcing, sawing, splitting and stacking). This spring our seasoning log stack offered a safe, dry haven for nesting treecreepers. My own gaff is timber-framed and -clad. Ah, wood!
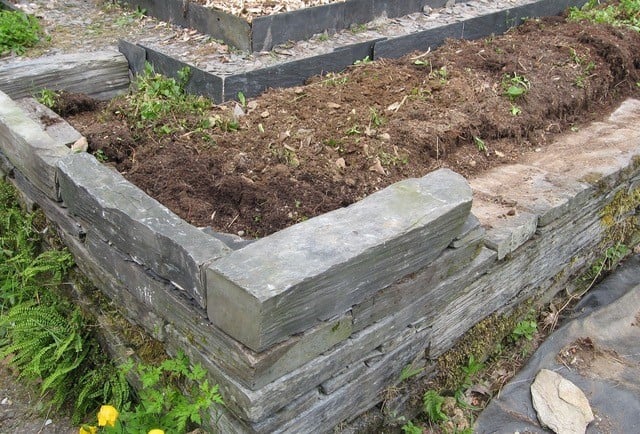
Wood came to my rescue this spring, when I set about retrofitting the beds on the first completed terrace. These were originally demarcated using recycled plastic edging, which is still doing its job admirably. The trouble is, I didn’t make it deep enough to contain the soil that, after constant improvement and waves of green manures, combined with zero digging, now spills onto the slate paths as a perfect nursery for weed seeds. Along the bed edges bordering the paths I used slate roofing tiles, laid on edge, to raise the beds by about 15cm. This now stops the existing spillover and retains the fresh compost/leafmould/woodchip mix that I topped the beds up with.

Blowing the dust off my passable drystone walling skills, at each end of the terrace I raised the retaining walls to match – but that left me with a 9m long and 15cm deep ‘gap’ between them, which I somehow needed to fill in. And that’s when panic set in. Lacking the time and energy to finish the job using slate, I flirted – fleetingly – with a quick fix using grey (and ghastly) concrete blocks. A short, thoughtful wander later, and after tripping over some logs left in long grass, the answer pinged: I could use… ah yes, wood.
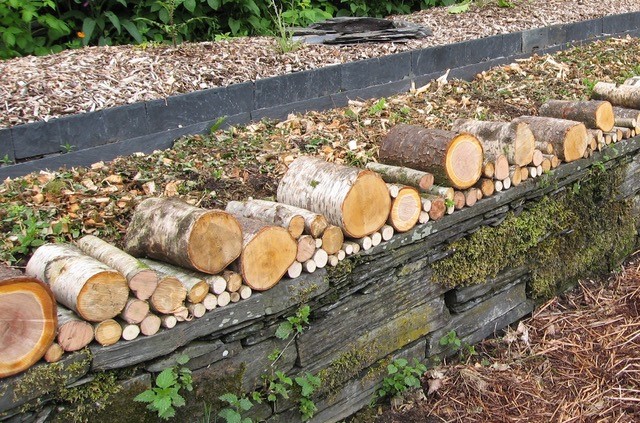
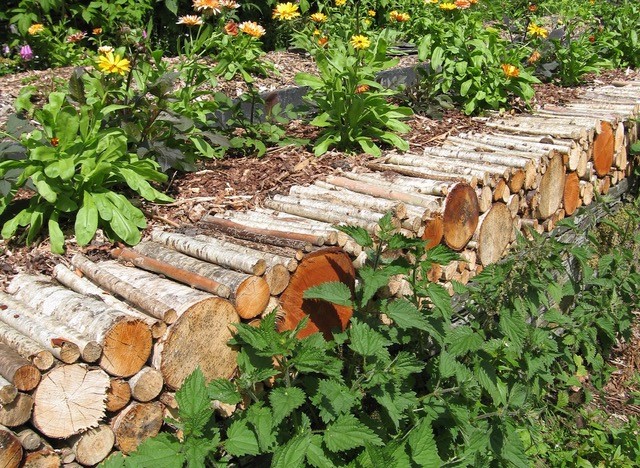
Panic averted, I set about the always therapeutic job of cutting different types of wood into logs thin and thick. Hazel, willow, oak, ash and birch abound hereabouts, so they became the mainstay of my ‘wooden wall’. I limited myself to cut-for-some-time willow trunks, to avoid a retaining wall with roots. A neighbour’s felled damson gave me a shot of bright orange-brown, bringing the whole wonder wall to life.
I started with a bed of thinner logs, all religiously cut to 25cm long, laid on the existing slate wall. Next, I assembled a random mix of logs, ranging from 2.5cm to 15cm in diameter (I made sure the thicker logs sat well below the eventual ‘top’ of my timber retainer). Then it was simply a case of filling in the gaps, using what logs I had, and cutting any more I needed. I used a mix of older, seasoned wood alongside some that was just cut (avoiding any already rotten bits).

Logs stacked like this for firewood naturally fit snugly together, and building my wooden wall was no different. Thinner, kindling-grade lengths were pushed into gaps as I went along, and I also used those to finish off – not just to plug bigger gaps, but to lay a final ‘coping’ on top of the wall to level it. Panic turned, over a few days, into pleasure. I’m guessing my snail’s-pace walling using slate would have taken me at least a tiring week. The bed is now topped up, planted up, and looks the ticket, with stolid slate and wondrous, beautiful wood rubbing along just fine.
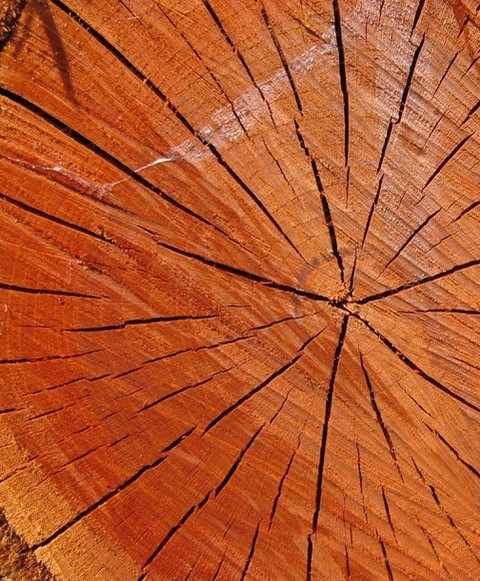
Don’t worry, I’m thinking it too: what happens when the logs start to rot? My careful, fingers-crossed planning assumes that those at the base will rot down first (we’ll see). To maintain a level edge, I’ll need to top up with fresh logs as and when (just as you would a wildlife log pile as it gradually sinks). The ends of the logs on the soil-facing side will begin their decomposing journey first, in a transformational zone where wood morphs, via the many agents of decay, into dark, soil-building humus. The ends of the logs exposed to the air and sun will go on for longer, gradually fading, but they still change their mood daily: hot, sunny days see radial cracks appear as they dry out, before the wood darkens and fattens itself again after a prolonged drenching. Ah, wood.

If you think I did all this just to make life easier for myself, you’d be right – and wrong. Wild life already abounds in the slate walls it calls home; think common lizards, slow worms, toads. I’m hoping my wooden wall – a kind of log pile with added function and style – will act as a habitat upgrade for other gardening allies that prefer damper, nook-rich places; think slug-munching ground beetles, hibernating newts, frogs (though there’ll be slugs and snails, too). Out front, red admirals and dragonflies already favour the sun-washed logs for touching down; a blue damselfly goes a treat against orange-brown damson.
Wood saved the day. Wood’s added something different that’s a beautiful talking point. Wood is luring fresh life to my garden. Wood – wow!
Text and images © John Walker
Find John on Twitter @earthFgardener


